My Nasty Nudes: How I Finally Organized My Nude & Brown Lipstick Collection (And Actually Use It Now)
If you’re anything like me, your lipstick collection didn’t just happen… it grew. Slowly. Quietly. Seductively. One “perfect nude” at a time. Yes, I am being overly dramatic. My collection grew from recommendations of some of my favorite influencers, limited edition releases and everything else in between.
And before you knew it? You had 20… 30… maybe 50+ lipsticks that all look slightly different—but somehow feel impossible to find when you actually need one.
Welcome to the reality of being a makeup lover.
This is exactly where I found myself—staring at a beautiful, brand-organized lipstick collection that looked like something straight out of Sephora or Ulta Beauty… but functioned like chaos.
So I did something about it.
The Problem: Pretty, But Useless
Let’s start with the truth.
Organizing makeup by brand is aesthetic… but it’s not practical.
At first glance, it makes sense:
💄 All your luxury lipsticks grouped together
💄 Clean, uniform packaging
💄 That “retail display” look we all secretly love
But in real life?
It creates friction.
Here’s what was happening to me:
💄 I couldn’t quickly find a nude lipstick when I needed one
💄 I forgot what shades I owned
💄 I kept buying duplicates
💄 My collection looked curated—but felt disconnected
💄 A beautiful makeup collection you don’t use is just expensive clutter.
The Shift: Organizing by Color, Not Brand
Instead of continuing the “pretty but pointless” system…
I asked myself:
“How do I actually use my makeup day-to-day?”
I don’t reach for brands—I reach for colors.
So I flipped the system.
New Rule: Organize Lipsticks by Color Category
I started with:
💄 Nudes + Browns (aka: My Everyday MVPs)
Why Nudes & Browns First?
Because these are your real-life shades:
💄 Work-from-home days
💄 Quick errands
💄 Zoom calls
💄 Soft glam looks
💄 “Put together, but effortless” days
And yet—they’re the most overbought category.
The Process: How I Organized My “Nasty Nudes”
Step 1: Pull EVERYTHING Out
💄 Every nude
💄 Every brown
💄 Every “this might be nude-ish”
Lay it all out and face the truth.
Step 2: Remove the Emotional Clutter (Packaging)
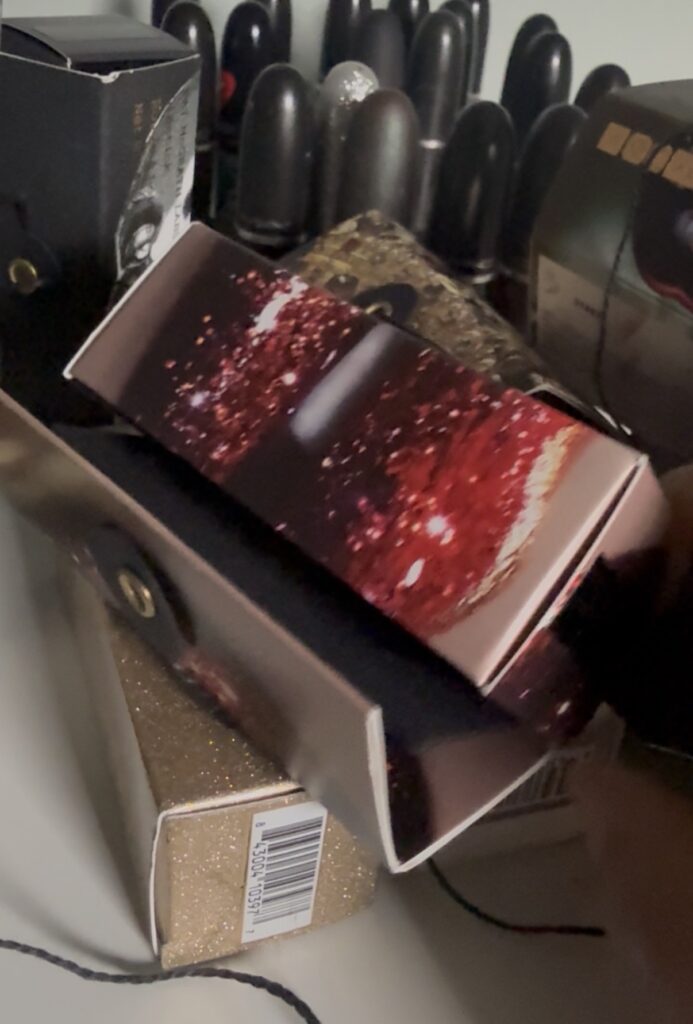
Some brands—like Pat McGrath Labs—are stunning.
But…
💄 Packaging is not designed for your storage system
💄 It prioritizes branding over functionality
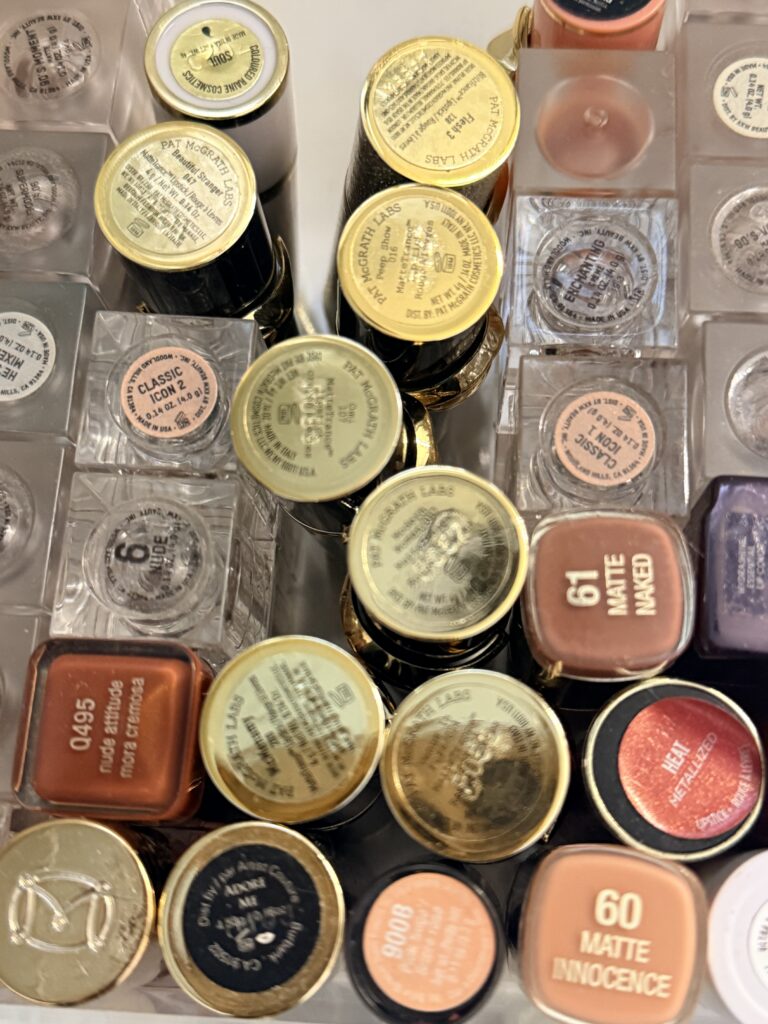
So I chose function over fantasy:
💄 Removed bulky outer packaging
💄 Kept only what made sense
💄 Focused on visibility and ease
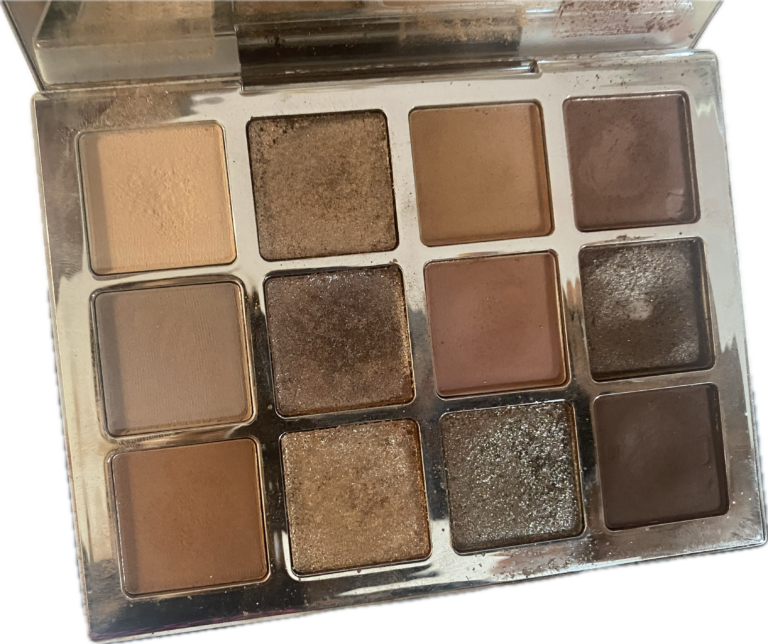
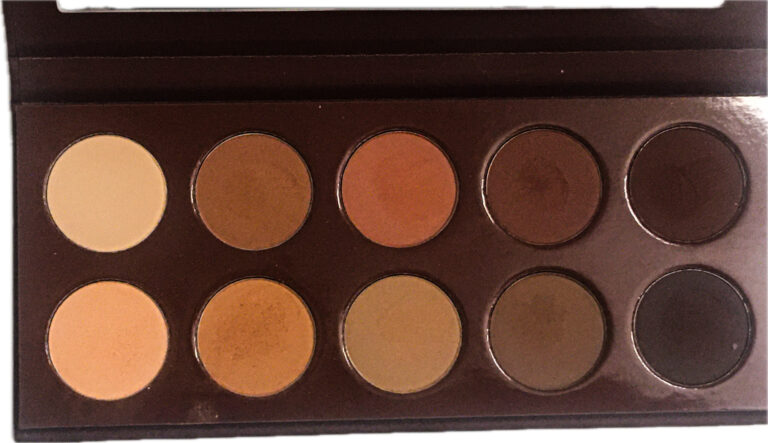
Step 3: Group by Shade Family
This is where everything clicks:
💄 Light nudes
💄 Pinky nudes
💄 Peachy nudes
💄 True browns
💄 Deep chocolate tones
Now your collection starts working for you.
Step 4: Store for Visibility
At Misaglow, we live by one simple rule:
💄 See it = Use it
So think:
💄 Clear organizers
💄 Open-top storage
💄 Categorized sections
Not hidden. Not buried. Not forgotten.
The Result: A Collection That Finally Works
💄 I use more of my makeup
💄 I shop my stash first
💄 Getting ready is faster
💄 I feel more in control
What This Means for YOU
You don’t need to overhaul everything.
Start here:
💄 Your nude lipsticks
💄 Or your most-used category
Then:
💄 Pull everything out
💄 Remove unnecessary packaging
💄 Group by color
💄 Store for visibility
The Bigger Picture
This isn’t just about organization.
It’s about:
💄 Being intentional
💄 Reducing waste
💄 Making smarter purchasing decisions
💄 Enjoying what you already own
What’s Next on Misaglow 👀
Coming soon:
💄 Makeup Inventory Trackers (Excel-based)
💄 “Shop Your Stash” Decision Tools
💄 Panning Challenges
💄 In-store decision logic tools
Your Turn
💄 Pick ONE category
💄 Pull everything out
💄 Start your own version of “Nasty Nudes”
Final Thought
You don’t need more makeup.
You need a better system for what you already have.
💄 And this is how you start.